

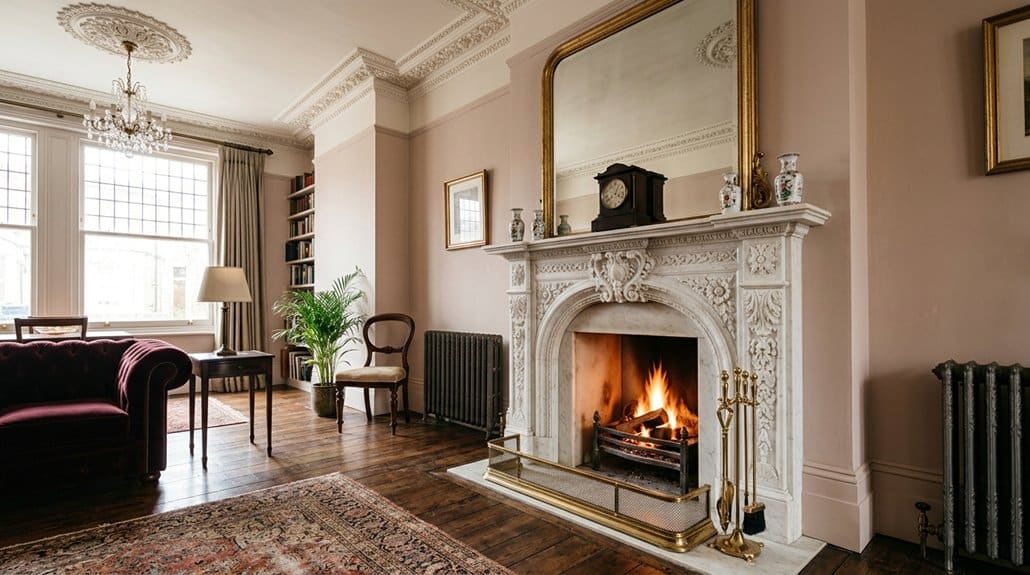
Bring Victorian features back to life by preserving original fireplaces, cornices, doors, and timberwork wherever sound material survives. Inspect tool marks, joinery, paint layers, cracks, and past repairs; photographs and measurements help you separate authentic fabric from later changes. Plan repairs around the evidence, budget for surprises, and hire craftspeople skilled in period methods. Choose compatible materials such as lime plaster, wax, and shellac, then test finishes before applying them. The steps ahead show how to restore each detail with care.
Key Takeaways
- Survey fireplaces, cornices, and timberwork; photograph details and use physical evidence to identify original materials and past repairs.
- Diagnose damp, cracks, movement, and structural issues before repairs to prevent recurring damage.
- Preserve sound original fabric, repairing tiles, cast iron, plaster, doors, and trim rather than replacing them unnecessarily.
- Choose experienced conservation craftspeople and compatible materials, such as lime plaster, matching timber, and breathable finishes.
- Match replacement profiles and finishes to surviving details, testing colors and documenting work to retain Victorian character.
Assess Original Victorian Features
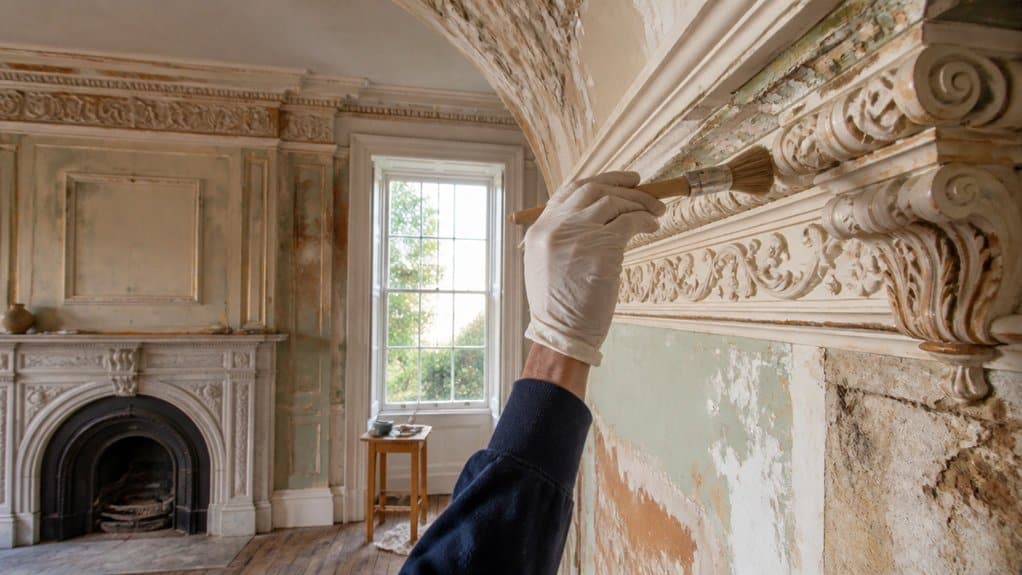
Before you restore anything, what’s original—and what’s a later imitation? In Victorian architecture, a fireplace’s crisp marble veining, a cornice’s layered profile, and a door’s weight can reveal its era, but later upgrades often borrow the same cues. Read each feature like a material fingerprint.
Check tool marks, joinery, fasteners, paint layers, and wear patterns; compare them with period photographs, plans, and neighboring details. A cast-iron insert may be original, while its surround dates decades later.
Under magnification, pigments and finish layers can expose repainting or replacement. Record dimensions and photograph seams before drawing conclusions.
Historical accuracy depends on evidence, not a polished guess. You’ll build a reliable picture of what survives, what changed, and which details carry the room’s authentic character—without mistaking age for originality.
Plan a Careful Victorian Restoration
Before you plan the restoration, assess each original feature for its material, condition, and architectural value.
Set a budget that balances conservation-grade materials with contingency costs.
Then choose craftspeople skilled in Victorian joinery, plasterwork, and period finishes.
Assess Original Features
Start with a careful survey, not a sander. You’ll read each room as a layered record: photograph fireplaces, cornices, ceiling roses, doors, and floorboards before moving anything. Note materials, profiles, tool marks, paint layers, and repairs; these details reveal what’s original and what’s a later imitation.
Use raking light to expose cracks and uneven surfaces, then test finishes discreetly. A small paint sample can distinguish historic color from accumulated grime, while a moisture meter may flag damp behind peeling plaster.
Don’t assume every ornate detail belongs to the Victorian period; compare joinery and motifs across rooms, and consult a conservation specialist when evidence conflicts.
Let Victorian interior decoration guide your eye, while Modern renovation techniques help you document condition without erasing character. You’ll make better restoration choices when evidence—not guesswork—sets the direction.
Set a Restoration Budget
A careful budget turns your condition survey into a practical restoration plan. Price each feature separately: fireplace masonry, tile, timber mantel, plaster cornices, and decorative finishes.
Your Budget allocation should distinguish essential stabilization from optional refinishing, so hidden damage doesn’t consume funds reserved for visible details. Add a contingency—often 10 to 20 percent—for surprises such as soot-stained brick, loose lath, or failed paint layers uncovered during careful removal.
Build your renovation timeline around both cost and sequence. Structural repairs and drying periods may delay finish work, while specialist materials can require advance ordering.
Spread spending across clear phases, and track estimates, invoices, and decisions in one ledger. If costs rise, protect original fabric first; postpone cosmetic upgrades rather than replacing sound period details.
This approach keeps your Victorian restoration financially controlled without sacrificing its character.
Choose Skilled Craftspeople
With your budget mapped to each restoration phase, choose craftspeople whose experience matches the Victorian features you need repaired. Ask for portfolios showing fireplace carving, plaster cornice repair, or sash-window conservation—not just general renovation work.
You’ll want artisan craftsmanship paired with historical accuracy, so request material samples and references for comparable period projects. A specialist can identify lime plaster, match a missing moulding profile, and distinguish salvageable fabric from later alterations before work begins.
Confirm who’ll handle each trade, what methods they’ll use, and how they’ll protect original surfaces. Put the scope, finish standards, schedule, and change-order process in writing.
If a proposal favors quick replacement over careful repair, ask why. The right team will explain its choices clearly, preserve character, and make your restoration budget work harder.
Restore a Victorian Fireplace
Before you restore your Victorian fireplace, assess its structure, finish, and wear to map a precise repair plan.
Clean and repair original brick, tile, or marble with compatible materials that preserve their patina.
Keep period details—mouldings, grates, and tiles—intact to retain the fireplace’s distinctive character.
Assess the Fireplace
Start by examining the fireplace as a system, not just a decorative feature: check the surround, hearth, firebox, and chimney for cracks, loose joints, damp, soot, and signs of past repairs.
Note how each element meets the next; hairline movement at a joint can signal a deeper issue than surface wear.
Shine a torch into the firebox, and look for distorted metal, crumbling mortar, or blocked vents.
Check the hearth for rocking tiles and uneven settling, then trace damp marks to their source rather than masking them.
A professional chimney inspection can reveal hidden flue damage, poor draw, or unsafe deposits that a room-level check won’t catch.
Record your findings with clear photos and measurements.
This careful Fireplace maintenance assessment helps you plan work safely and preserve the fireplace’s character.
Restore Original Materials
Once the fireplace passes inspection, preserve its original materials wherever they’re sound: Victorian tile, cast iron, marble, and timber each need a treatment suited to their composition.
Clean tile with a pH-neutral solution and soft brushes; abrasive pads can dull its glaze.
Remove loose rust from cast iron by hand, then apply a breathable, heat-rated protective coating.
For marble, use a stone-safe cleaner and avoid acidic products that etch its surface.
Repair timber with compatible fillers, matching the grain before applying a finish.
Test historic paint for hazardous pigments before disturbing it, and retain stable layers where possible.
If you need replacement material, match its color, texture, and thermal performance.
Let each repair cure fully before lighting a fire, so heat won’t compromise your careful work or damage nearby period lighting.
Preserve Period Details
To preserve a Victorian fireplace’s character, keep its defining details intact: original grates, finials, moldings, and decorative tile patterns.
Clean each surface with methods suited to its material; abrasive pads can dull glaze, while harsh solvents may strip aged finishes.
Photograph and label loose pieces before removal, then repair cracks with compatible compounds and retain sound patina.
If you need replacements, match the original profile, scale, and color rather than introducing generic ornament.
You can update the hearth’s function without disguising its heritage. Fit a discreet, reversible gas or electric insert, and check clearances with a qualified installer.
Layer Victorian interior lighting to reveal carved relief and tile sheen, not overpower them.
Through thoughtful modern furniture integration, preserve a clear view of the surround and let its craftsmanship anchor the room.
Repair Victorian Cornices and Ceiling Mouldings
When Victorian cornices or ceiling mouldings crack, sag, or lose detail, repair them before damage spreads. First, check for leaks, loose plaster, and movement; fix the cause before restoring the surface. You’ll protect Victorian ornamentation by recording each profile and preserving sound material rather than replacing whole sections.
For fine Cornice detailing, use a flexible moulding comb to capture intact contours, then cast matching pieces in plaster or a compatible lime-based mix. Secure loose runs with suitable adhesive and discreet mechanical fixings, keeping the original line level.
Fill hairline cracks with fine filler, reinforce deeper splits with scrim, and blend repairs by hand. Once cured, sand lightly and apply breathable primer and paint. You’ll retain crisp shadows and a seamless finish, while careful colour matching lets the ceiling’s sculpted rhythm shine without masking its age or character.
Restore Period Doors, Skirting and Architraves
With the ceiling mouldings repaired, turn to the doors, skirting and architraves that frame each room. Inspect each timber element for loose joints, splits, insect damage and layers of paint that obscure its profile. You’ll preserve more Victorian craftsmanship by repairing sound wood than replacing it: splice in matching timber, secure joints, and use a sharp scraper to reveal crisp moulding lines without gouging them.
Check doors for dropped hinges, sticking edges and rattling panels. Realign hinges, ease only the contact points, and retain original hardware where it works. For missing sections, take templates from surviving details so new work follows the room’s scale and rhythm. Match profiles with a moulding plane or custom cutter; accurate repairs protect period authenticity and keep these tactile architectural details working as intended.
Choose Finishes for Restored Victorian Features
Once repairs are sound, choose finishes that suit each feature’s age, timber and use. Test Victorian paint finishes on sample boards before coating cornices or joinery. Compare pigments in morning and lamplight; deep greens, smoky blues and mineral reds can reveal carved detail without overpowering a room.
For timber, clean gently, then apply a breathable wax or shellac that lets grain glow instead of sealing it beneath a plastic sheen.
Pair restored plaster and woodwork with period wallpaper patterns scaled to the room’s proportions. A small repeat can calm a narrow hall, while a bold botanical print gives a generous parlour fresh energy.
Check paper composition and wall condition before pasting, and use reversible methods where practical. You’ll preserve historic character while making each finish feel deliberate, tactile and distinctly yours.
Conclusion
Restoring Victorian features is about more than looks: you’re recovering the craftsmanship that gives a home its character. Start with careful assessment, then repair fireplaces, cornices, doors and trim using compatible materials and breathable finishes. One striking detail: many Victorian houses were built with ceilings around 3 metres high, making restored mouldings especially effective at drawing the eye upward. Preserve what’s original, replace only what’s beyond repair, and let every finish reveal the home’s history.
Leave a Reply